A Guide on How to Use a Dslr for Video Production
I still remember the first time I picked up a DSLR to shoot a video – I was convinced that the key to _amazing footage_ lay in the camera itself. But as I delved deeper into the world of filmmaking, I realized that knowing how to use a dslr for video is not just about understanding the technical capabilities of the device, but about _unleashing your creativity_. The truth is, a DSLR is just a tool – it’s the story you tell with it that truly matters. When I started making my own short films and documentaries, I learned that the real magic happens in the editing room, where you get to shape your clips into a compelling narrative.
As someone who’s passionate about _demystifying the filmmaking process_, I want to share my knowledge with you on how to use a dslr for video. In this guide, I’ll take you through the basics of capturing amazing video footage with your camera, from understanding the importance of _lighting_ and _sound_ to the art of _color grading_ and _editing_. My goal is to give you the practical advice you need to bring your stories to life, without any hype or jargon. By the end of this article, you’ll be equipped with the skills to create videos that have a real emotional impact, and you’ll be well on your way to unlocking the full cinematic potential of your DSLR.
Table of Contents
Guide Overview: What You'll Need
Total Time: 1 hour 30 minutes
Estimated Cost: $0 – $100
Difficulty Level: Intermediate
Tools Required
- DSLR Camera with manual controls
- Tripod for stabilization
- Memory Cards at least 16 gigabytes
- External Microphone for better audio quality
- Camera Lens with focal length of 50 millimeters or lower
Supplies & Materials
- Extra Batteries for camera and accessories
- Lens Cleaning Kit for maintaining camera lens
- Camera Strap for comfortable handling
- Reflectors for controlling light
- Script and Storyboard for planning video content
Step-by-Step Instructions
- 1. First, let’s talk about setting up your DSLR for video recording. This is where most people get tripped up, but trust me, it’s easier than you think. You’ll want to start by switching your camera to manual mode, which will give you full control over the exposure, aperture, and shutter speed. Don’t worry if you’re not familiar with these terms yet – we’ll get into the nitty-gritty later.
- 2. Next, you’ll need to choose the right lens for your project. Now, I know what you’re thinking – “What’s the best lens for video?” The answer is, it depends on the story you’re trying to tell. If you’re shooting a documentary, you might want a lens with a wide aperture to create a shallow depth of field. If you’re shooting a music video, you might want a lens with a bit more zoom to capture those dynamic performances.
- 3. Now that we’ve got our camera and lens set up, it’s time to think about sound design. This is an area where a lot of beginners fall short, but I’m here to tell you that sound is at least 50% of the film. You’ll want to invest in a good external microphone, and make sure you’re recording high-quality audio to match your high-quality video. Don’t be afraid to get creative with your sound design, either – experiment with different mic placements and techniques to find the sound that works best for your story.
- 4. With our camera and sound set up, it’s time to start thinking about story structure. What’s the narrative arc of your film? What’s the main conflict or challenge that your characters will face? How will you build tension and resolve it? These are all questions you should be asking yourself as you start to plan out your shoot. Remember, the story is found in the edit, not just in the footage – so think about how you can use your camera angles, lighting, and sound design to tell a cohesive and compelling story.
- 5. Once you’ve got your story structure in place, it’s time to start thinking about color grading. This is an area where you can really get creative and make your film stand out. Think about the mood and atmosphere you want to create – do you want your film to be bright and playful, or dark and moody? Choose a color palette that fits your story, and experiment with different grading techniques to find the look that works best for you.
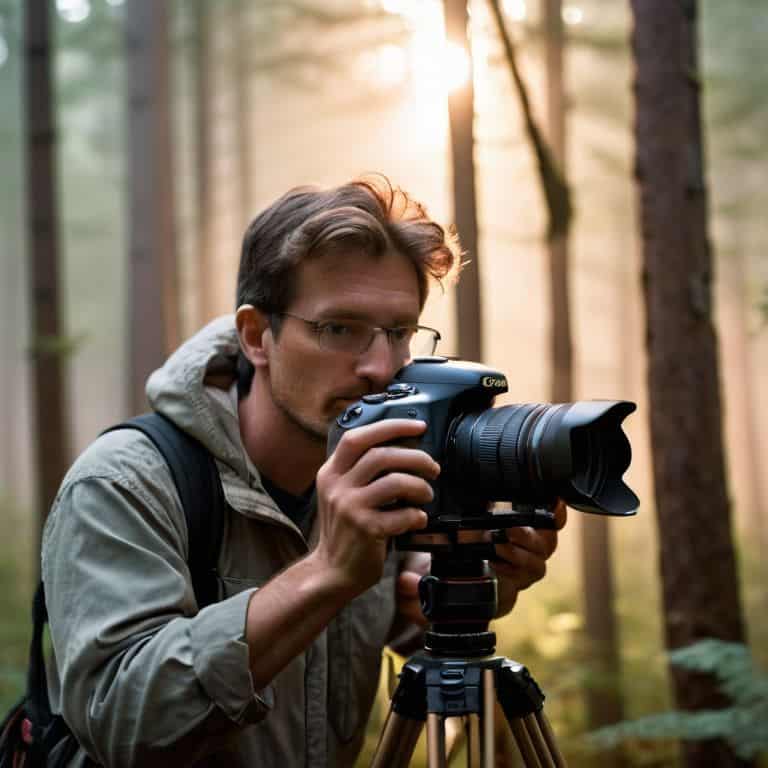
- 6. Now it’s time to start shooting! Remember to keep your camera stable and smooth, using a tripod or gimbal to minimize shake and ensure that your footage is rock-solid. Don’t be afraid to experiment with different camera angles and movements, either – a mix of static shots, dolly shots, and handheld footage can add visual interest and keep your viewer engaged.
- 7. Finally, it’s time to edit your footage. This is where the magic happens, folks – where you take all your raw footage and turn it into a cohesive, compelling story. Remember to keep your edit tight and focused, using a mix of short and long shots to build tension and create a sense of rhythm. Don’t be afraid to experiment and try new things – and most importantly, have fun with it! The edit is where you get to bring your story to life, and it’s an incredibly rewarding process.
Mastering Dslr Video
As I delve deeper into the world of DSLR video production, I’m reminded of the importance of mastering manual focus for cinematic footage. It’s a technique that requires patience and practice, but the end result is well worth the effort. By taking control of your focus, you can create a more intimate and engaging visual narrative that draws the viewer in.
When it comes to capturing smooth and stable footage, understanding frame rates is crucial. A higher frame rate can add a cinematic feel to your video, while a lower frame rate can create a more documentary-style look. Experimenting with different frame rates can help you find the right aesthetic for your story. Additionally, investing in the best lenses for DSLR video production can make a significant difference in the quality of your footage.
To take your DSLR video production to the next level, consider transitioning from DSLR to mirrorless for video. Mirrorless cameras offer improved autofocus and stabilization, making it easier to capture high-quality footage on the go. When it comes to post-production, exploring different dslr video editing software options can help you find the right tools to bring your vision to life.
Best Lenses for Cinematic Footage
When it comes to capturing cinematic footage, the right lens can make all the difference. I’m obsessed with vintage cinema lenses, and for good reason – they add a unique character to your footage. But, if you’re just starting out, a good prime lens or a versatile zoom lens can be a great investment. Look for lenses with a wide aperture, like a 50mm f/1.4, to create a shallow depth of field and separate your subject from the background.
For a more cinematic look, consider a lens with a focal length between 24mm and 85mm. These lenses will allow you to capture a wide range of shots, from expansive landscapes to intimate close-ups. I’ve found that a 35mm or 50mm lens is often the sweet spot for documentary-style footage, as it provides a natural perspective and allows for a lot of creative flexibility.
Unlocking Dslr Camera Settings
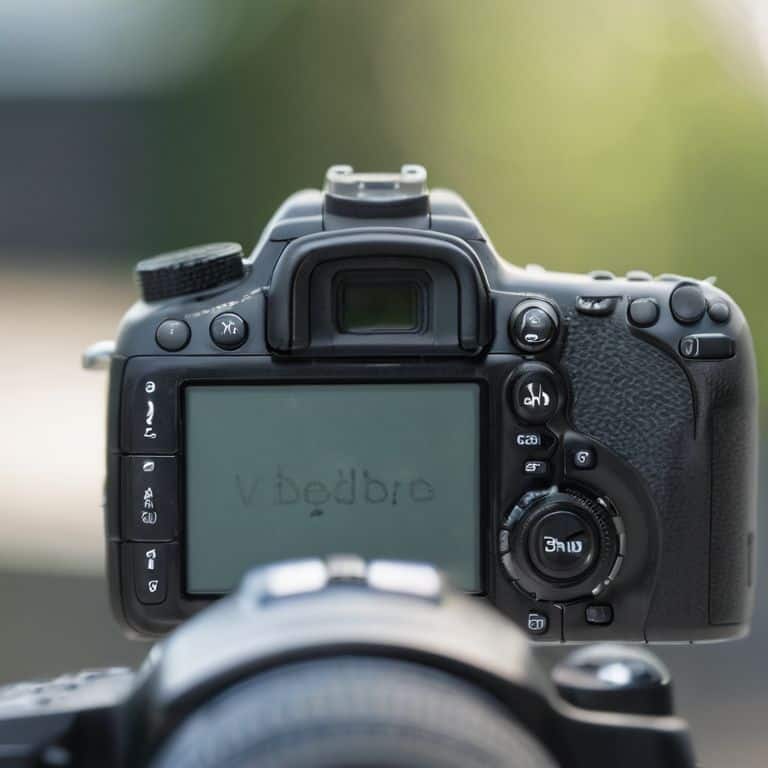
Now that we’ve covered the basics of mastering DSLR video, let’s dive into the nitty-gritty of camera settings. I always say that the right settings can make or break the mood of a scene. When it comes to unlocking your DSLR’s potential, it’s all about understanding aperture, shutter speed, and ISO. Think of these three elements as the holy trinity of cinematography – they work together in harmony to create a visually stunning image.
By tweaking these settings, you can achieve a specific look or feel that enhances your story. For example, a wide aperture can create a shallow depth of field, drawing the viewer’s attention to your subject. Experimenting with different settings will help you develop your unique visual style and bring your stories to life.
Bringing Your Vision to Life: 5 Essential Tips for DSLR Video
- Set your camera to manual mode to gain full control over exposure, allowing you to capture the mood and atmosphere you envision for your story
- Invest in a good quality tripod to ensure stable footage, which is crucial for maintaining the viewer’s immersion in your narrative
- Experiment with different lenses to find the one that best suits the aesthetic and emotional tone you’re aiming for in your film
- Pay attention to sound design, as it can make or break the emotional impact of your video – consider investing in a quality external microphone
- Shoot with a variety of frame rates and resolutions to add visual interest and depth to your footage, and to keep your audience engaged
Key Takeaways for Unlocking Your DSLR's Cinematic Potential
By understanding and mastering your DSLR’s video settings, you can unlock a world of creative possibilities and take your storytelling to the next level
Investing in the right lenses can make a significant difference in the cinematic quality of your footage, with options ranging from versatile zooms to specialized primes
Remember, the true magic of filmmaking happens in the edit, so don’t be afraid to experiment with different editing techniques and color grading styles to bring your vision to life
Bringing Stories to Life
The true magic of filmmaking happens not when you press record, but when you weave your footage into a tapestry of emotion, rhythm, and light – and that’s where your DSLR becomes a tool not just for capturing video, but for crafting a cinematic experience.
Maya Jenson
Bringing Your Vision to Life
As we’ve explored the world of DSLR video, you’ve learned how to unlock the full potential of your camera, from mastering the basics of exposure and focus to choosing the best lenses for cinematic footage. You’ve also discovered the importance of story-focused editing and how to use sound design to elevate your films. By applying these techniques, you’ll be well on your way to creating visually stunning and emotionally resonant videos that captivate your audience.
So, what’s next? It’s time to take your newfound knowledge and experiment with different styles and techniques. Remember, the art of filmmaking is all about finding your unique voice and vision. Don’t be afraid to try new things, take risks, and push the boundaries of what’s possible with your DSLR. With dedication and practice, you’ll be creating incredible videos that inspire and move your viewers, and that’s the greatest reward of all.
Frequently Asked Questions
What are the essential camera settings I need to adjust for optimal video quality on my DSLR?
To unlock optimal video quality on your DSLR, focus on adjusting the aperture, shutter speed, and ISO. I like to think of these settings as the holy trinity of cinematography. Aperture controls depth of field, shutter speed influences motion, and ISO affects brightness. Experimenting with these settings will help you achieve the desired mood and aesthetic for your story.
How can I achieve a cinematic look with my DSLR, considering factors like lighting and composition?
To achieve a cinematic look, I swear by the holy trinity of lighting, composition, and lens choice. Soft, natural light and a mix of close-ups and wide shots can create depth and visual interest. Experiment with a prime lens, like a 50mm, to add a touch of warmth and shallowness to your footage.
What are some common mistakes to avoid when recording video with a DSLR, and how can I troubleshoot issues like shaky footage or poor audio?
When recording with a DSLR, I see many creators trip up on shaky footage and subpar audio. To avoid this, always use a tripod or stabilizer, and invest in a good external mic. If issues arise, check your camera’s settings, and make sure you’re using the right lens for the job.