A Maker’s Guide on How to Build a Picture Frame
I still remember the first time I tried to build a picture frame. I was a novice, eager to display my favorite photograph, but the process was overwhelming. I had heard that it’s all about following instructions, but I soon realized that’s just not true. The truth is, how to build a picture frame is not just about assembling pieces of wood and glass, but about creating a story that surrounds the image. It’s about the _imperfections_ that make it unique, the _character_ that comes from handmade craftsmanship.
As you embark on this journey to build a picture frame, I promise to guide you through the process with _honest_ and _practical_ advice. You won’t find any generic instructions or overly complicated techniques here. Instead, I’ll share my personal approach to crafting a frame that tells a story. From selecting the right materials to adding the final touches, I’ll walk you through each step, emphasizing the importance of patience and attention to detail. By the end of this article, you’ll be equipped with the knowledge and confidence to create a beautiful, handmade picture frame that showcases your favorite memories.
Table of Contents
- Guide Overview: What You'll Need
- Step-by-Step Instructions
- How to Build a Picture Frame
- Bringing Your Vision to Life: 5 Essential Tips for Building a Timeless Picture Frame
- Key Takeaways for Crafting a Timeless Picture Frame
- The Soul of a Frame
- Embracing the Beauty of Handcrafted Frames
- Frequently Asked Questions
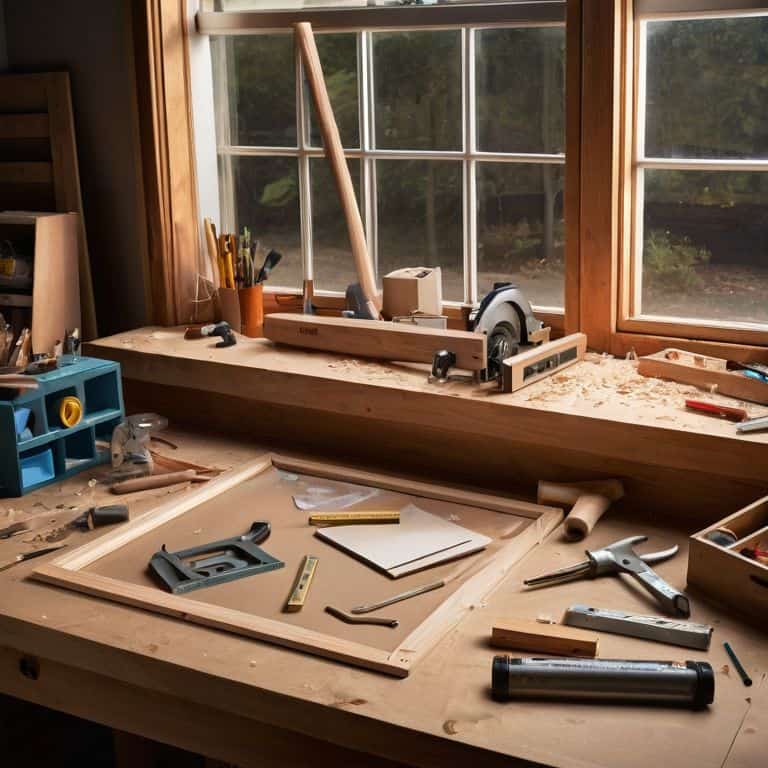
Guide Overview: What You'll Need
Total Time: 1 hour 15 minutes
Estimated Cost: $15 – $30
Difficulty Level: Easy
Tools Required
- Miter Saw (for precise angled cuts)
- Drill Press (for drilling screw holes)
- Sander (for smoothing out wood)
- Tape Measure (for accurate measurements)
- Level (for ensuring the frame is straight)
- Clamp (for holding the frame together)
- Hammer (for tapping pieces into place)
- Pencil (for marking cut lines)
- Square (for ensuring corners are square)
Supplies & Materials
- 1-in x 4-in lumber (for the frame)
- Picture Frame Glass (or acrylic alternative)
- Mat Board (optional, for added depth)
- Photo (the image to be framed)
- Frame Backing (cardboard or foam board)
- Nails or Frame Clips (for securing the back)
- Hanging Wire (for hanging the frame)
- Wood Glue (for bonding the frame pieces)
Step-by-Step Instructions
- 1. First, let’s start by gathering our materials, which include a few basic tools like a miter saw, a drill press, and some sandpaper. We’ll also need our frame’s components: the wooden molding, the glass or acrylic for the front, a backing board, and some framing nails or a strong adhesive. I like to lay everything out on my workbench to get a sense of the project’s scope and to ensure I haven’t forgotten anything crucial.
- 2. Next, we need to measure and cut our wooden molding into the appropriate lengths for the frame. This is where patience and precision come into play. I always double-check my measurements, as there’s no room for error when you’re aiming for a professional finish. Use your miter saw to make clean, angled cuts, which will help your frame fit together seamlessly.
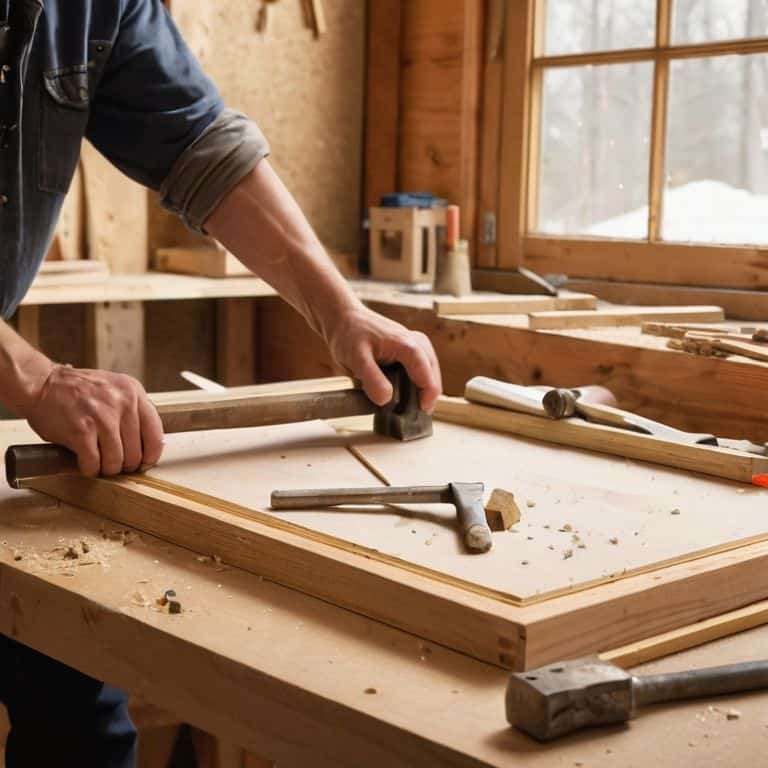
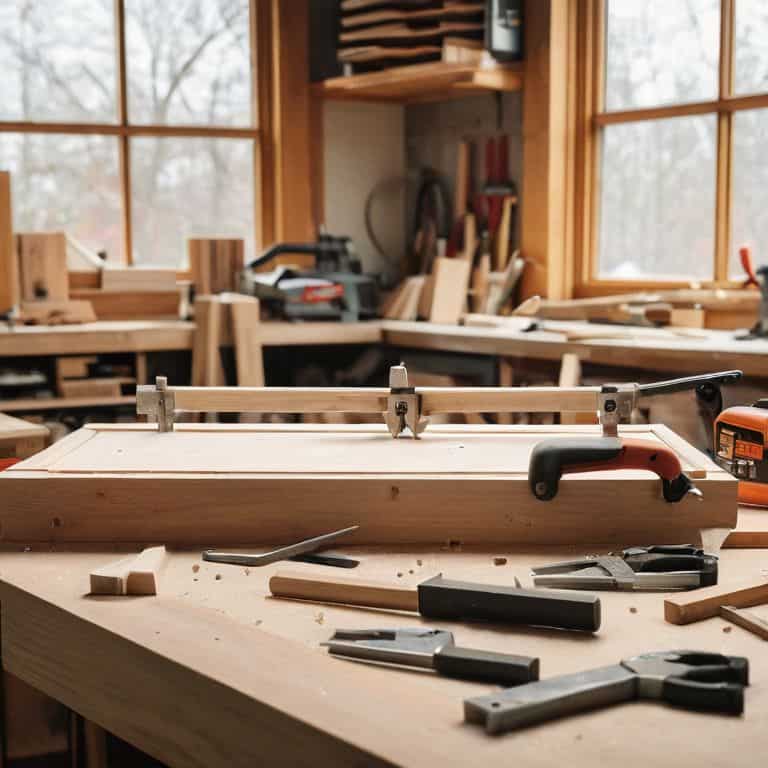
- 3. After cutting our pieces, it’s time to assemble the frame. This can be a bit tricky, so take your time. I recommend using a combination of framing nails and a strong wood adhesive to ensure your corners are solid and won’t come apart over time. It’s also a good idea to use clamps to hold everything in place while the adhesive dries, ensuring that your frame maintains its shape.
- 4. With our frame assembled, we can move on to preparing the backing and the glazing. Cut your backing board to the appropriate size using a utility knife or a saw, depending on the material. For the glazing, make sure it’s cut to size as well; if you’re using glass, consider having it professionally cut to avoid any sharp edges or injuries.
- 5. Now, let’s attach the backing and the glazing to our frame. For the backing, a strong adhesive should suffice, while for the glazing, you’ll need to use a glazing points or a similar method to secure it in place without damaging the frame or the glass. This step requires care, as the glazing can be fragile and the backing needs to be securely fastened to protect the contents of the frame.
- 6. After everything is in place, it’s time for finishing touches, which can include sanding down any rough edges, applying a finish to the wood if desired, and ensuring all parts of the frame are securely attached. This is also a good time to add any hardware, like picture frame hooks or a hanging wire, to make your masterpiece ready to display.
- 7. Finally, add your personal touch by placing your chosen artwork or photo inside the frame. This is the moment where all your hard work comes together, and you get to see your creation in its entirety. Hang your frame in a place of pride, and enjoy the satisfaction of knowing you built something with your own hands, a piece that tells a story and brings a touch of handmade beauty into your home.
How to Build a Picture Frame
As I work on a new custom picture frame design, I always consider the type of wood and the overall aesthetic I want to achieve. The right choice of woodworking tools for framing can make all the difference in the final product. For instance, a good miter saw can help you achieve precise cuts, while a coping saw can be useful for more intricate cuts. When it comes to picture frame molding ideas, I like to think outside the box and experiment with different shapes and sizes.
When assembling the frame, it’s essential to follow some diy frame assembly tips to ensure a sturdy and long-lasting result. One of my favorite tips is to use a combination of nails and glue to secure the pieces together. This provides extra support and prevents the frame from shifting over time. Additionally, considering hanging heavy picture frames safely is crucial to avoid any damage or accidents.
To add a finishing touch to your picture frame, you can explore different picture frame glass options. I personally prefer using non-reflective glass, as it allows the viewer to focus on the artwork or photo without any distractions. By paying attention to these details, you can create a truly unique and professional-looking picture frame that showcases your personality and style.
Crafting Custom Frame Designs
As I delve into the world of picture framing, I find myself drawn to the endless possibilities of custom designs. It’s here that the true artistry of frame-making comes alive. I love experimenting with different woods, stains, and textures to create one-of-a-kind pieces that reflect the unique character of the artwork they’ll hold. From the rustic charm of reclaimed oak to the sleek sophistication of ebony, each material tells a story that can elevate the entire piece.
By combining these elements in innovative ways, you can craft a frame that not only complements the artwork but also adds an extra layer of depth and meaning. I often sketch out ideas in my notebook, letting the materials and design elements guide my creative process. This is where the magic happens, and your frame begins to take on a life of its own.
Essential Woodworking Tools for Framing
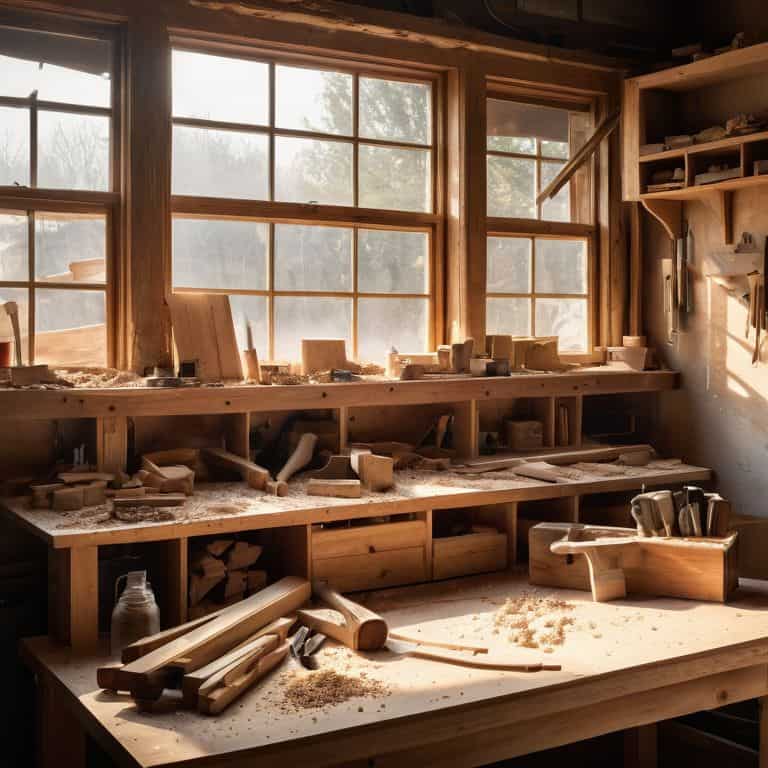
As I begin to frame my latest project, I always start by gathering my trusted tools. A good table saw is essential for making precise cuts, while a miter saw helps me achieve those perfect 45-degree angles. My hand plane is also a staple, allowing me to smooth out any imperfections in the wood. I’ve found that having a reliable drill press on hand is also crucial for drilling accurate holes. These tools, worn from years of use, are my companions in the workshop, each one playing a vital role in bringing my vision to life.
With these tools, I can shape and mold the wood into a beautiful frame that tells a story. The soft glow of the workshop lights, the scent of freshly cut wood, and the sound of my tools at work all blend together to create an experience that’s just as important as the final product.
Bringing Your Vision to Life: 5 Essential Tips for Building a Timeless Picture Frame
- Start with a story: Before you begin, think about the image you want to frame and the story it tells – this will help you choose the perfect wood tone and design to complement it
- Select your wood wisely: Consider the grain, texture, and color of the wood to ensure it resonates with the atmosphere you want to create in your space
- Measure twice, cut once: Accuracy is key when it comes to framing – take your time to ensure precise measurements for a professional finish
- Don’t be afraid to add a personal touch: Incorporate unique elements, like handmade corners or a bespoke finish, to make your frame truly one-of-a-kind
- Embrace the imperfections: Remember, it’s the small imperfections that give your handmade frame character – don’t stress about minor flaws, and instead, celebrate the human touch
Key Takeaways for Crafting a Timeless Picture Frame
Embracing the imperfections in your handmade picture frame is what gives it character and soul, making each piece uniquely personal
Selecting the right materials, such as sustainably sourced wood, and understanding their textures and hues, is crucial for creating a frame that complements and elevates your artwork
By slowing down and enjoying the process of crafting your picture frame, you’re not just building a piece of furniture, you’re telling a story that reflects your personality and creativity
The Soul of a Frame
A picture frame is not just a border around a memory, it’s the bridge that connects the story of the past to the present, and the hands that craft it are the storytellers.
Finn Rivera
Embracing the Beauty of Handcrafted Frames
As we conclude this journey of building a picture frame, let’s take a moment to reflect on the key elements that make this project truly special. From selecting the perfect wood to carefully crafting custom frame designs, each step has been a testament to the beauty of handmade craftsmanship. By embracing the imperfections and uniqueness of our creations, we’re not just building a frame – we’re telling a story. The process of creation is just as important as the final product, and it’s through this process that we infuse our work with character and soul.
As you place your finished frame on the wall, remember that the true value lies not in the materials or the technique, but in the personal touch you’ve added to every detail. Don’t be afraid to experiment, to try new things, and to make mistakes – for it’s in these moments that we discover our true creative potential. So, let’s continue to create with intention, to celebrate the beauty of natural materials, and to fill our lives with the joy of handmade, meaningful objects.
Frequently Asked Questions
What type of wood is best suited for building a picture frame?
For a picture frame, I love working with woods that have character, like reclaimed oak or walnut. These woods have a rich texture and history that adds depth to the frame. You can also consider pine or fir for a more rustic look, or maple for a sleek, modern feel. Ultimately, the type of wood you choose will depend on the story you want your frame to tell.
How do I ensure my frame is perfectly square and evenly spaced?
To ensure your frame is perfectly square, I always double-check my corners with a trusty combination square. For even spacing, I mark my measurements with a pencil and use a ruler to verify the gaps between the frame and the artwork are consistent – it’s all about taking your time and being mindful of the details.
Can I add any custom details or embellishments to make my picture frame truly unique?
Absolutely, I love adding personal touches to my frames. Consider engraving, wood burning, or inlaying materials like metal or stone to give your frame a one-of-a-kind character. You can also experiment with different stains, paints, or waxes to enhance the wood grain and add depth. These small details will make your frame truly special and tell a story that’s uniquely yours.


