An Artisan’s Guide to Woodworking Basics
As I sit in my workshop, surrounded by the scent of freshly cut wood and the soft glow of lanterns, I’m reminded of the countless times I’ve heard people say that woodworking is a lost art, a hobby only for the retired or the extremely skilled. But I’m here to tell you that’s just not true – a guide to woodworking is not just about following instructions, it’s about _unleashing your creativity_ and bringing a piece of yourself to life. I’ve seen it time and time again, the spark in someone’s eye when they create something with their own hands, and it’s a feeling that never gets old.
In this article, I’ll share with you my own journey and the practical tips I’ve learned along the way, from selecting the right materials to mastering the basics of woodworking. You’ll get a glimpse into my workshop, where I’ll walk you through the process of creating something from scratch, and provide you with the _honest advice_ you need to get started on your own projects. Whether you’re a complete beginner or just looking to refine your skills, this guide is for you – and I promise, by the end of it, you’ll be _inspired to create_ something truly special, and maybe even discover a new passion for woodworking.
Table of Contents
Guide Overview: What You'll Need
Total Time: 2 hours 30 minutes
Estimated Cost: $100 – $300
Difficulty Level: Intermediate
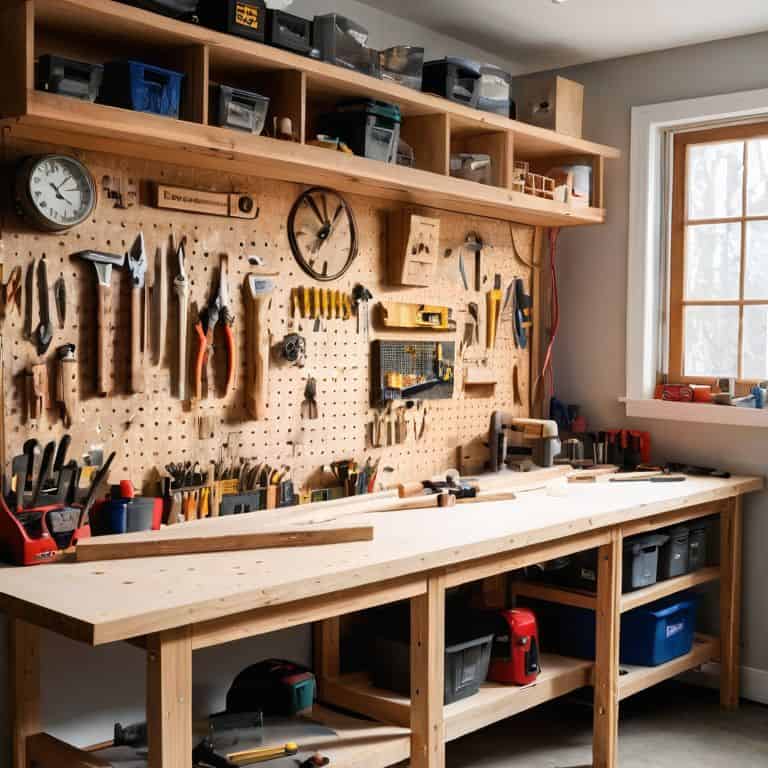
Tools Required
- Table Saw for making straight cuts in wood
- Miter Saw for making precise angled cuts
- Drill Press for drilling accurate holes
- Sander for smoothing out wood surfaces
- Tape Measure for measuring wood pieces
- Square for ensuring accurate corners
- Clamps for holding wood pieces in place
- Safety Glasses for protecting your eyes from debris
Supplies & Materials
- 2-in x 4-in lumber for framing and support
- 3/4 inch plywood for shelving and tops
- Wood Glue for bonding wood pieces together
- 2 1/4 inch wood screws for assembling wood pieces
- Wood Filler for filling gaps and holes
- Sandpaper for smoothing out wood surfaces
- Stain or Paint for finishing and protecting the wood
Step-by-Step Instructions
- 1. First, let’s start by selecting the right wood for our project. This is a crucial step, as different types of wood have unique characteristics that can affect the final outcome. I always begin by considering the color, texture, and grain pattern of the wood, as these elements will ultimately define the personality of our piece. Take your time, and don’t be afraid to get up close and personal with the wood – smell it, touch it, and feel its weight.
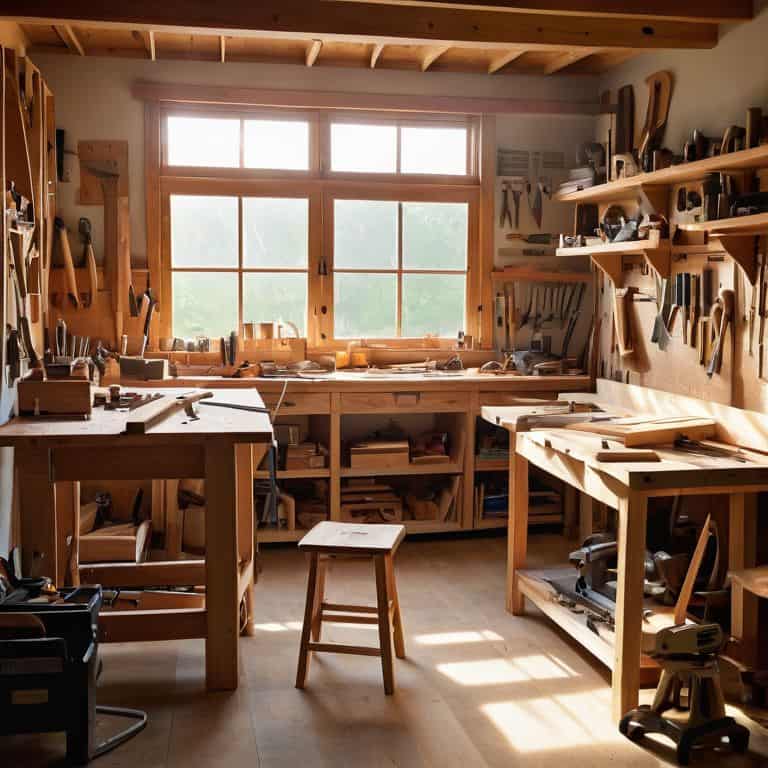
- 2. Next, we need to prepare our workspace by gathering all the necessary tools and materials. This includes our trusty table saw, drill press, sandpaper, and of course, our favorite hand tools. I like to lay everything out in front of me, so I can see exactly what I have to work with. This not only helps me stay organized but also gets me excited to start creating. Take a moment to inspect your tools, make sure they’re in good condition, and give them a good cleaning if necessary.
- 3. Now it’s time to create a detailed sketch of our project. I always start by sketching out my idea in my notebook, considering the dimensions, proportions, and overall aesthetic I want to achieve. This is where the magic happens, and our project starts to take shape. Don’t worry too much about making mistakes – they’re an opportunity to learn and improve. Take your time, and let your creativity flow onto the page.
- 4. With our design in hand, we can begin cutting our wood to size. This is where the real fun begins, and we get to see our project start to take form. Remember to always use proper safety equipment, and take your time when operating power tools. I like to focus on the sound of the saw, feeling the vibrations of the machine, and watching as the wood is transformed into the pieces we need.
- 5. After cutting our wood, it’s time to assemble our project. This is where all the pieces come together, and we get to see our creation take shape. I love this part of the process, as it requires patience, attention to detail, and a bit of problem-solving. Don’t be discouraged if things don’t fit perfectly at first – it’s all part of the process. Take a step back, assess the situation, and make any necessary adjustments.
- 6. Once our project is assembled, we can start adding the finishing touches. This includes sanding, staining, and applying a finish to protect the wood. I enjoy this part of the process, as it allows me to connect with the natural beauty of the wood, highlighting its unique characteristics and imperfections. Remember, it’s these imperfections that give our piece its soul and character.
- 7. Finally, we get to step back and admire our creation. This is the moment we’ve been working towards, and it’s a feeling like no other. Take pride in what you’ve accomplished, and don’t be afraid to show off your work. Remember, the true beauty of woodworking lies not only in the end result but in the journey itself – the process, the struggles, and the triumphs.
A Guide to Woodworking
As I delve deeper into the world of woodworking, I’m reminded of the importance of woodworking safety tips. It’s easy to get caught up in the creative process, but taking the time to ensure your workspace is clear of debris and your tools are in good condition can make all the difference. I’ve learned to always wear protective gear, like safety glasses and a dust mask, to prevent injuries and ensure a smooth workflow.
When it comes to choosing the right tools for the job, I swear by my essential woodworking hand tools. A good set of chisels, hand saws, and marking gauges can help you achieve precision and accuracy in your work. For beginners, I recommend starting with simple projects like building a birdhouse or a small wooden box. These basic woodworking projects for beginners can help you develop the skills and confidence you need to take on more complex tasks, like crafting a beautiful wooden cutting board.
As you work with different types of wood, it’s essential to understand the unique characteristics of each one. Introduction to wood types and grain can seem overwhelming at first, but it’s crucial to recognizing the potential of each piece of wood. By paying attention to the grain pattern and texture, you can create truly unique and functional pieces that showcase the natural beauty of the wood.
Essential Hand Tools for Soulful Craftsmanship
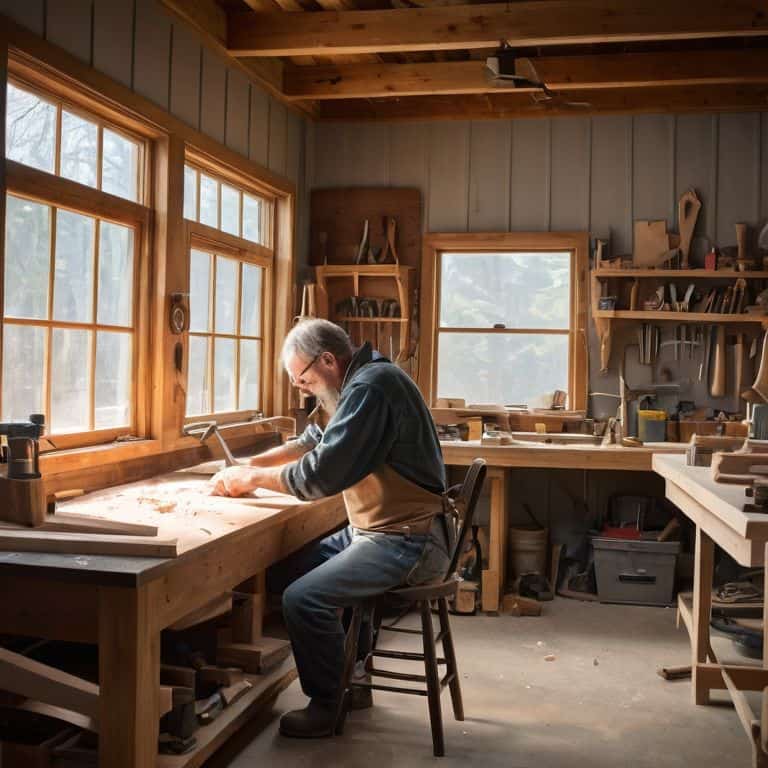
As I step into my workshop, I’m surrounded by the tools that bring my creations to life. Essential hand tools are the heart of soulful craftsmanship, allowing me to connect with the wood on a deeper level. My favorites include a trusty marking gauge, a set of finely tuned chisels, and a smoothing plane that never fails to reveal the beauty within the grain.
These tools are extensions of my hands, allowing me to coax and shape the wood into something truly unique. With each cut and stroke, I feel a sense of intention and purpose, as if the tool and I are working together to tell a story. The imperfections that arise from working by hand are what make each piece truly special, a testament to the human touch that cannot be replicated by machines.
Woodworking Safety Tips for Beginners
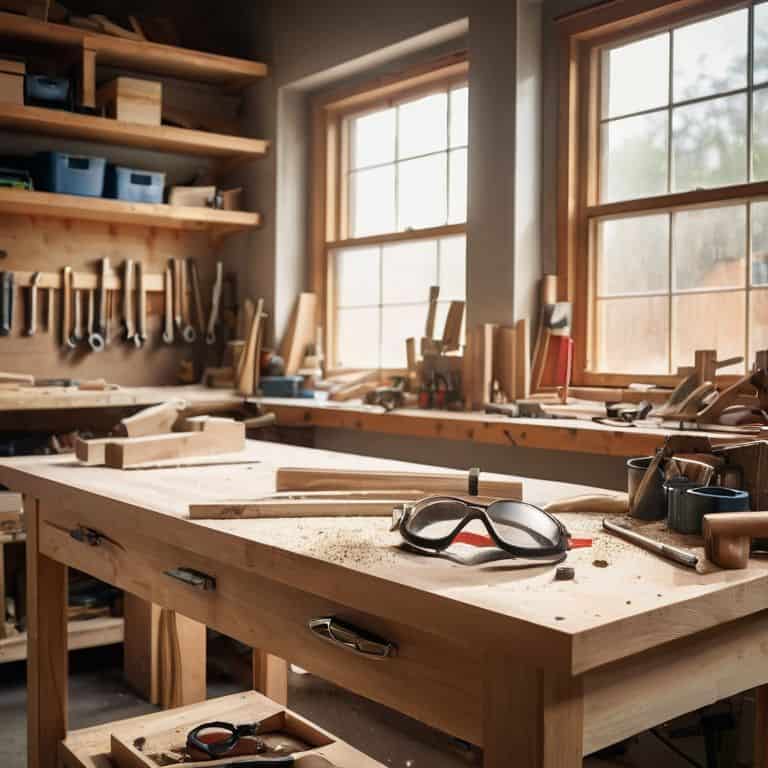
As I share my passion for woodworking with you, I want to emphasize the importance of safety in the workshop. For me, it’s not just about following rules, but about respecting the craft and the materials we work with. When I’m creating, I always wear protective gear like safety glasses and a dust mask – it’s a habit that’s become second nature.
Before starting any project, take a moment to assess your workspace and ensure it’s clear of clutter and tripping hazards. Keep loose clothing and long hair tied back, and never wear jewelry that could get caught in machinery. These simple precautions can help prevent accidents and allow you to focus on the creative process, where the real magic happens.
Bringing Wood to Life: 5 Key Tips for Soulful Woodworking
- Start with the story of the wood: understand its history, its grain, and its potential to become something new
- Listen to the wood: pay attention to its texture, its scent, and the way it responds to your tools
- Respect the imperfections: celebrate the unique character of each piece of wood and the imperfections that make it human
- Work with the grain: not just a technical rule, but a metaphor for working in harmony with the natural world
- Finish with intention: the final touches are not just about protection, but about enhancing the story and soul of the wood
Embracing the Craft: 3 Key Takeaways
As you embark on your woodworking journey, remember that it’s the imperfections and unique characteristics of each piece that make them truly special and tell a story
Always approach a new project with a sense of curiosity and creativity, starting with a sketch in your notebook to bring your vision to life and guide your hands
Woodworking is not just about creating functional objects, but about nurturing a connection with natural materials and infusing your space with pieces that reflect your personality and soul
The Heart of Woodworking
As I shape each piece of wood, I’m reminded that the true beauty of woodworking lies not in the perfection of the craft, but in the imperfect, human touch that brings a piece to life.
Finn Rivera
Embracing the Craft of Woodworking
As we conclude this journey through the world of woodworking, let’s take a moment to reflect on the essential elements we’ve covered. From the initial introduction to the craft, to the step-by-step instructions and safety tips, we’ve explored the fundamentals necessary to embark on this creative path. We’ve also delved into the importance of soulful craftsmanship, highlighting the value of imperfections and the story behind each handmade piece. By embracing these principles, you’ll not only create functional items but also infuse them with a piece of yourself.
As you continue to grow and explore the world of woodworking, remember that the true beauty lies not just in the end result, but in the process itself. The journey of creation, the transformation of raw materials into something meaningful, is where the magic happens. So, don’t be afraid to experiment, to make mistakes, and to learn from them. For in the words of a true craftsman, the goal is not to create something perfect, but to craft something that tells a story and brings warmth to the soul.
Frequently Asked Questions
What are some common mistakes to avoid when working with different types of wood?
When working with different types of wood, I’ve found that one common mistake is not accounting for their unique characteristics. For instance, woods like oak and maple can be prone to splitting, while softer woods like pine may dent easily. Always research the specific wood you’re working with to understand its quirks and limitations.
How do I properly care for and maintain my woodworking tools to ensure they last?
To keep my tools alive, I make it a habit to clean and oil them regularly. A soft cloth and some gentle care can work wonders – it’s about showing respect for the craft and the materials that help me bring my ideas to life.
What are some creative ways to repurpose or upcycle wooden scraps and leftover materials from projects?
I love breathing new life into scraps. For me, it’s about seeing the potential in leftover wood. I’ve turned old pallets into planters, used wood shavings to create unique inlays, and even crafted custom coasters from tiny wooden offcuts. The key is to experiment and let the material guide you – it’s amazing what stories you can tell with what would otherwise be discarded.


