An Editor’s Beginner’s Guide to Adobe Premiere Pro
I still remember the first time I sat in front of Adobe Premiere Pro, feeling like a kid in a candy store, eager to unlock the secrets of a beginner’s guide to adobe premiere pro. But, as I delved deeper, I realized that most tutorials and guides were more focused on showcasing the software’s features rather than teaching the art of storytelling. The common myth is that editing is just about cutting and arranging clips, but the truth is, it’s an invisible art that requires a deep understanding of pacing, tone, and emotional resonance.
As we embark on this journey together, I promise to share my honest, no-hype, and practical advice on how to truly master a beginner’s guide to adobe premiere pro. We’ll dive into the world of color grading, sound design, and story-focused editing, and I’ll show you how to turn your raw footage into a cinematic masterpiece. By the end of this guide, you’ll be equipped with the skills to breathe life into your videos and leave your audience spellbound. So, let’s get started and uncover the magic that lies within the editing timeline!
Table of Contents
- Guide Overview: What You'll Need
- Step-by-Step Instructions
- A Beginners Guide to Adobe Premiere Pro
- 5 Essential Tips to Unlock Your Creative Potential in Adobe Premiere Pro
- Key Takeaways for a Beginner's Guide to Adobe Premiere Pro
- Unlocking the Power of Adobe Premiere Pro
- Unlocking Your Creative Potential
- Frequently Asked Questions
Guide Overview: What You'll Need
Total Time: 4 hours 30 minutes
Estimated Cost: free – $20.99 per month
Difficulty Level: Intermediate
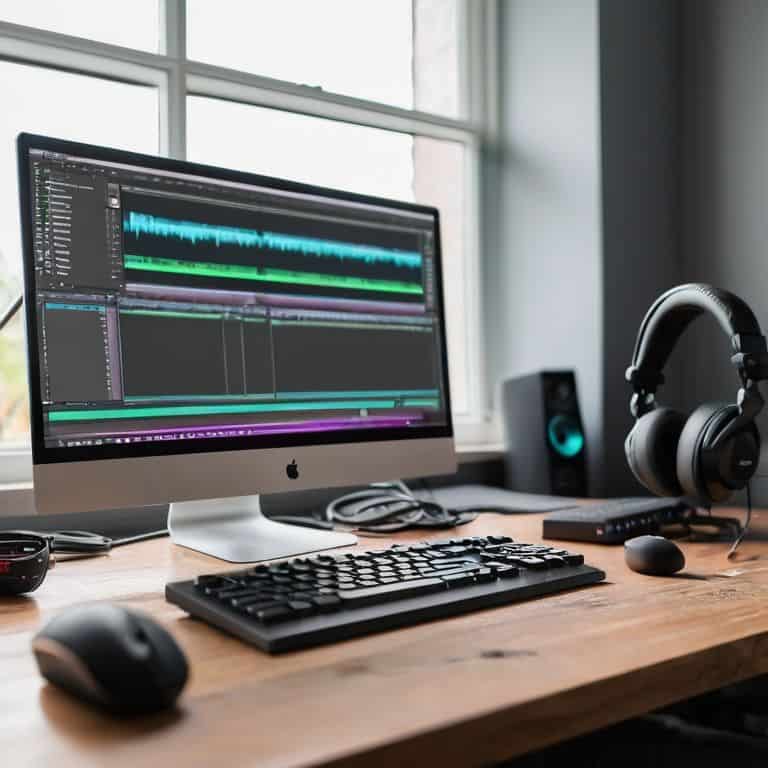
Tools Required
- Computer (with internet connection)
- Adobe Premiere Pro Software (free trial or subscription)
- Mouse (or other navigation device)
- Keyboard (for typing commands and shortcuts)
Supplies & Materials
- Video Footage (personal or stock footage)
- Audio Files (music or sound effects)
- Storage Drive (for saving project files, at least 256 gigabytes)
Step-by-Step Instructions
- 1. First, let’s get started with setting up your project in Adobe Premiere Pro. To do this, launch the software and click on “File” > “New” > “Project”. This will open up a dialog box where you can choose your project settings, such as the resolution, frame rate, and color mode. I always make sure to choose the settings that match my footage, so I can ensure a seamless editing experience.
- 2. Next, it’s time to import your footage into Premiere Pro. You can do this by clicking on “File” > “Import” and selecting the files you want to bring into your project. I like to organize my footage into separate folders, so I can easily find the clips I need. You can also use the “Media Browser” panel to preview and import your footage, which is a great way to get a sense of what you’re working with.
- 3. Now that you have your footage imported, it’s time to start building your timeline. To do this, simply drag and drop your clips into the timeline panel. I like to start by creating a rough assembly of my footage, just to get a sense of the overall flow of my project. Don’t worry too much about the details at this stage – we can refine things later. The key is to get a sense of the rhythm and pacing of your edit.
- 4. Once you have a basic assembly of your footage, it’s time to start adding transitions and effects. Premiere Pro has a wide range of built-in transitions and effects that you can use to enhance your edit. I like to use subtle transitions to guide the viewer’s eye through the story, and bold effects to add emphasis and drama. You can access the transitions and effects by clicking on the “Effects” panel and browsing through the various options.
- 5. As you continue to build your edit, it’s essential to pay attention to the sound design. Premiere Pro has a powerful audio editing toolset that allows you to fine-tune your sound levels, add music, and even create complex sound effects. I like to think of sound design as 50% of the film, because it can completely transform the mood and atmosphere of a scene. Take the time to get your sound design just right, and you’ll be amazed at the difference it can make.
- 6. Now that you’re getting close to finishing your edit, it’s time to think about color grading. Premiere Pro has a range of built-in color grading tools that allow you to enhance the look and feel of your footage. I love to use color curves to add depth and nuance to my images, and LUTs (Look Up Tables) to create a consistent look throughout my project. Color grading is all about creating a mood or atmosphere, so take the time to experiment and find the right look for your story.
- 7. Finally, it’s time to export your final project. Premiere Pro gives you a range of export options, from HD video to 4K and beyond. I always make sure to check my settings carefully, to ensure that my final export looks and sounds exactly as I want it to. You can also use the “Queue” panel to batch export multiple versions of your project, which is a great time-saver if you need to deliver your film in different formats.
A Beginners Guide to Adobe Premiere Pro
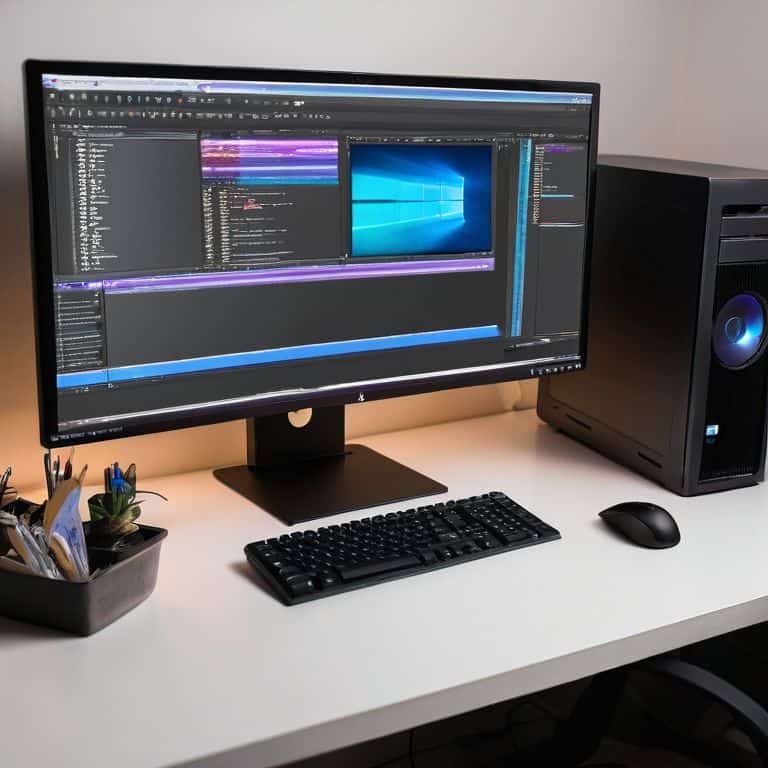
As I dive deeper into the world of Adobe Premiere Pro, I want to share some essential tips for getting the most out of this powerful editing software. One of the most critical aspects of working with Premiere Pro is understanding the system requirements needed to run the program smoothly. This includes having a compatible computer, sufficient RAM, and a high-quality graphics card. By ensuring your system meets these requirements, you’ll be able to focus on the creative aspects of editing, rather than dealing with frustrating technical issues.
When it comes to color grading in Adobe Premiere, I always emphasize the importance of creating a consistent look and feel for your project. This can be achieved by using the software’s built-in color grading tools, such as the Lumetri Color Panel. By experimenting with different color palettes and presets, you can add depth and emotion to your footage, drawing your audience into the story. For example, a warm color scheme can evoke feelings of nostalgia, while a cool color scheme can create a sense of tension.
To take your editing skills to the next level, I recommend exploring multicam editing in Premiere Pro. This feature allows you to sync and edit multiple camera angles, creating a more dynamic and engaging visual experience. By combining multicam editing with premiere pro project organization tips, such as using clear labels and folders, you’ll be able to work efficiently and effectively, even on complex projects.
Mastering Color Grading and Multicam Editing
Now that we’ve covered the basics, let’s dive into the art of color grading and multicam editing. I’m obsessed with the emotional impact of color, and I believe it can make or break a scene. In Premiere Pro, you can use the Lumetri Color Panel to create a consistent look and feel across your footage. Experiment with different presets and adjustments to find the perfect tone for your story.
When it comes to multicam editing, Premiere Pro makes it easy to sync and switch between multiple camera angles. This technique can add energy and depth to your scenes, especially in interview or dialogue-driven footage. By mastering color grading and multicam editing, you’ll be able to elevate your visuals and draw your audience into the story.
Unlocking Premiere Pro Video Editing Tutorials
As we dive deeper into the world of Adobe Premiere Pro, it’s essential to have a solid foundation in video editing tutorials. I always say that the best way to learn is by doing, and with Premiere Pro, you can start creating stunning videos in no time. From basic cuts to advanced color grading, the tutorials will guide you through the process, helping you develop your unique style.
I recommend starting with the official Adobe tutorials, which cover everything from importing footage to exporting your final project. These tutorials will give you a solid understanding of the interface and tools, allowing you to unlock the full potential of Premiere Pro and bring your creative vision to life.
5 Essential Tips to Unlock Your Creative Potential in Adobe Premiere Pro
- Set up your project with a clear vision: Before you start editing, take time to organize your footage, and develop a rough outline of your story to ensure a cohesive narrative
- Master the art of clip selection: Learn to identify the most compelling moments in your footage, and understand how to use them to create an emotional connection with your audience
- Experiment with color grading to evoke emotions: Discover how to use the Lumetri Color Panel to enhance the mood and atmosphere of your scenes, and create a visual identity for your film
- Play with audio to elevate your story: Don’t underestimate the power of sound design – learn to use audio effects, EQ, and compression to create an immersive experience that complements your visuals
- Practice, practice, practice: The key to mastering Adobe Premiere Pro is to keep editing – start with small projects, and gradually work your way up to more complex ones, experimenting with different techniques and styles along the way
Key Takeaways for a Beginner's Guide to Adobe Premiere Pro
Mastering the art of editing is crucial to bringing your story to life, and Adobe Premiere Pro is the perfect tool to help you achieve this
By understanding the fundamentals of color grading and multicam editing, you can add depth, emotion, and rhythm to your videos, making them more engaging and impactful
With practice and patience, you can unlock the full potential of Adobe Premiere Pro and create stunning videos that captivate and inspire your audience, whether you’re a beginner or an experienced filmmaker
Unlocking the Power of Adobe Premiere Pro
The true magic of filmmaking happens not in the camera, but in the edit – where the rhythm of the cut, the pulse of the sound, and the warmth of the color all converge to evoke the unspoken emotions that make a story unforgettable.
Maya Jenson
Unlocking Your Creative Potential

As we conclude this beginner’s guide to Adobe Premiere Pro, remember that the key to mastering this powerful tool lies in practicing regularly and experimenting with different techniques. We’ve covered the fundamentals of video editing, from importing and organizing footage to adding visual effects and color grading. By following these steps and tips, you’ll be well on your way to creating stunning videos that captivate your audience. Don’t be afraid to try new things and push the boundaries of what’s possible in Premiere Pro.
As you continue on your creative journey, keep in mind that the true magic happens in the editing room. It’s where you get to weave your footage into a compelling narrative, evoking emotions and sparking connections with your viewers. So, don’t just edit your videos – breathe life into them. With every cut, every transition, and every carefully crafted sound design element, you’re shaping a story that will leave a lasting impression on your audience. Happy editing!
Frequently Asked Questions
What are the basic system requirements for running Adobe Premiere Pro smoothly?
To run Adobe Premiere Pro smoothly, you’ll need a computer with a multi-core processor, at least 8GB of RAM, and a dedicated graphics card. For optimal performance, I recommend 16GB of RAM and a recent-generation GPU. Trust me, it’s worth the investment – you want your edit suite to be a creative haven, not a frustrating bottleneck!
How do I organize and import my footage into Adobe Premiere Pro for the most efficient editing workflow?
Let’s get your footage in order. To import and organize your clips in Adobe Premiere Pro, create a new project, set up your scratch disks, and use the Media Browser to import your files. I like to organize my clips into folders and labels, it’s like preparing a puzzle, making it easier to find the right pieces when editing.
What are some essential keyboard shortcuts I should know to speed up my editing process in Adobe Premiere Pro?
To boost your editing speed, I swear by these essential keyboard shortcuts in Adobe Premiere Pro: Ctrl+K (cut), Ctrl+C (copy), Ctrl+V (paste), and Space (play/pause). Plus, use J, K, and L to shuttle and navigate your timeline with ease. Trust me, mastering these will free you up to focus on the creative magic!