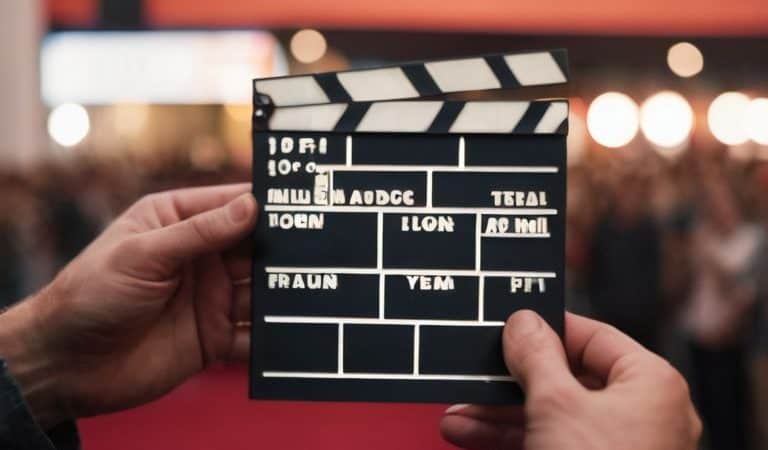
A Guide on How to Shoot Cinematic Video With Any Camera
I still remember the first time I tried to shoot cinematic video – I had a vision of creating a masterpiece, but my footage looked anything but cinematic. It was a frustrating experience, and I soon realized that the key to achieving that cinematic look wasn’t just about the camera settings, but about capturing the emotion and magic in the moment. As I delved deeper into the world of filmmaking, I learned that how to shoot cinematic video is not just about technical skills, but about telling a story that resonates with your audience.
In this article, I’ll share my personal experience and expertise on how to shoot cinematic video, focusing on the practical tips and techniques that will help you elevate your footage from ordinary to extraordinary. I’ll take you through the process of planning, shooting, and editing your video, highlighting the importance of pre-visualization and attention to detail. By the end of this guide, you’ll have a clear understanding of how to create cinematic videos that engage and inspire your viewers, and you’ll be equipped with the skills to bring your unique vision to life.
Table of Contents
Guide Overview: What You'll Need
Total Time: 2 hours 30 minutes
Estimated Cost: $100 – $500
Difficulty Level: Intermediate
Tools Required
- DSLR Camera (or mirrorless camera with video capabilities)
- Tripod (sturdy, for smooth panning and stabilization)
- Lenses (wide-angle and prime lenses for cinematic look)
- External Microphone (for high-quality audio capture)
- Lighting Kit (basic, with softbox lights and umbrellas)
- Gimbal (optional, for smooth camera movement)
- Camera Slider (optional, for dynamic shots)
- Editing Software (video editing program, such as Adobe Premiere or DaVinci Resolve)
Supplies & Materials
- Memory Cards (high-capacity, for storing video footage)
- Batteries (extra, for camera and equipment)
- Lens Cleaning Kit (for maintaining camera lenses)
- Color Grading LUTs (optional, for enhancing color and mood in post-production)
Step-by-Step Instructions
- 1. First, let’s talk about pre-production planning, which is essential to shooting cinematic video. This is where you develop your concept, script, and storyboard. I like to think of this stage as the foundation of my film, where I can experiment with different ideas and visualize the final product. Take your time to flesh out your idea, and don’t be afraid to try out new things – it’s all part of the creative process.
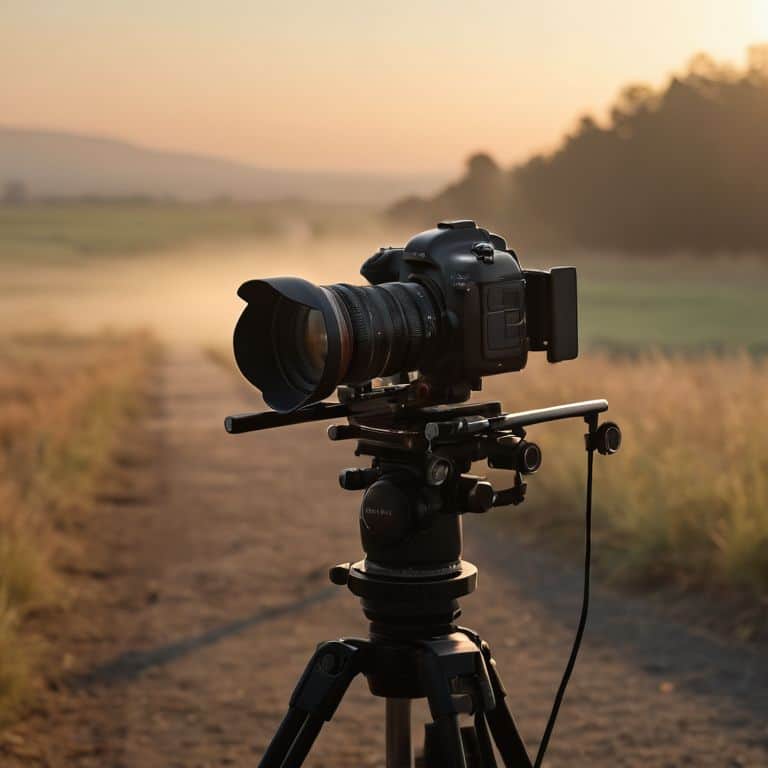
- 2. Next, you’ll want to choose the right equipment for your shoot. As a filmmaker, I’m obsessed with the quality of my footage, and I believe that investing in a good camera is crucial. Look for a camera that can shoot in 4K resolution and has a wide range of manual controls. Don’t forget to invest in a few good lenses, too – I’m a big fan of vintage cinema lenses, and I love the unique character they bring to my footage.
- 3. Now it’s time to think about lighting, which can make or break the mood of your scene. I like to use a combination of natural and artificial light to create a cinematic look that’s both moody and evocative. Experiment with different lighting setups to find what works best for your scene, and don’t be afraid to get creative – after all, lighting is an art form in itself.
- 4. When it comes to camera movement, I’m a big fan of using a steadicam or a gimbal to create smooth, fluid motion. This can add a lot of visual interest to your scene and help to create a sense of tension or excitement. Just remember to use camera movement sparingly – you don’t want to overwhelm your audience with too much motion.
- 5. One of the most important things to remember when shooting cinematic video is to capture a variety of shots. This means getting a mix of wide shots, close-ups, and over-the-shoulder shots to create a visually interesting scene. I like to think of this as building a puzzle – each shot is a piece that helps to create a complete picture.
- 6. As you’re shooting, don’t forget to pay attention to sound design, which is just as important as the visual elements of your scene. I like to use a combination of diegetic and non-diegetic sound to create a rich, immersive audio landscape. This can include everything from background noise to music and sound effects – the key is to create a soundscape that complements your visuals and draws your audience in.
- 7. Finally, when it’s time to review your footage, don’t be afraid to get critical. Look for shots that don’t work, and be willing to cut them or re-shoot them if necessary. This is also a great time to start thinking about color grading, which can help to create a consistent look and feel for your film. I love experimenting with different color palettes and styles to find the one that works best for my story.
Shooting Cinematic Video
As I delve into the world of cinematic video, I’m reminded of the importance of cinematic camera movements. These movements can make or break the mood of a scene, and it’s essential to use them thoughtfully. For instance, a slow pan can create a sense of serenity, while a rapid dolly move can build tension. When combined with careful planning and execution, these movements can elevate your footage from ordinary to extraordinary.
When it comes to capturing high-quality footage, audio recording for film is just as crucial as the visuals. I always make sure to invest in good quality microphones and record audio separately from my camera, if possible. This allows me to have more control over the sound design in post-production, which I believe is 50% of the film. By paying attention to the audio, you can create a more immersive experience for your viewers and draw them deeper into your story.
In terms of visual elements, I’m obsessed with color grading techniques. The right color palette can completely transform the mood and atmosphere of a scene, and it’s an area where I love to experiment. By using video editing software to fine-tune my color grades, I can create a consistent look and feel throughout my film, which helps to reinforce the narrative and emotional impact of the story.
Mastering Cinematic Camera Movements
To truly capture the essence of cinematic video, you need to think beyond static shots. I’m obsessed with the way a well-executed camera movement can elevate the emotion of a scene. For me, it’s all about creating a sense of fluidity and depth. Whether it’s a slow pan, a gentle tilt, or a subtle dolly move, the key is to make the movement feel intentional and purposeful. I love studying the work of masters like Kubrick and Scorsese, who used camera movements to guide the viewer’s eye and build tension.
When it comes to mastering cinematic camera movements, practice is key. Experiment with different techniques, such as tracking shots or crane moves, to add visual interest to your footage. Remember, the goal is to create a sense of rhythm and flow, so don’t be afraid to try new things and see what works best for your story.
Unlocking Color Grading Techniques
As I delve into the world of color grading, I’m reminded of the profound impact it has on the emotional resonance of a film. It’s not just about tweaking hues and saturation levels; it’s an art form that can transport your audience to a specific time and place. I recall working on a documentary where a subtle shift in color palette completely altered the tone of a scene, transforming it from somber to hopeful. By experimenting with different color grading techniques, you can evoke distinct moods and atmospheres, drawing your viewers deeper into the narrative.
To get started, I recommend exploring the basics of color theory and how it applies to filmmaking. Understand how different colors can influence the emotional tone of a scene, and then experiment with various grading tools and software to find the look that resonates with your story.
Unleashing the Cinematic Vision: 5 Essential Tips to Elevate Your Footage
- Capture the golden hour for warm, soft light that adds depth to your scenes
- Experiment with unconventional camera angles to create a sense of tension or unease
- Invest in a good prime lens to achieve a shallow depth of field and separate your subject from the background
- Pay attention to sound design and capture high-quality audio to elevate the emotional impact of your video
- Shoot with intention and have a clear understanding of your story’s pacing and rhythm to guide your shot selection
Key Takeaways for Shooting Cinematic Video
Embracing the art of cinematic storytelling begins with understanding that footage is just the raw material, and the real film is born in the editing room, where rhythm, emotion, and magic are woven together
Mastering cinematic camera movements and unlocking color grading techniques are crucial steps in creating a visually stunning film that captivates the audience and leaves a lasting impression
By focusing on the emotional impact of sound design, which makes up 50% of the film, and meticulously crafting each scene with a deep understanding of storytelling principles, filmmakers can elevate their work from mere footage to a cinematic masterpiece
The Cinematic Vision
To shoot cinematic video, you must first learn to see the world as a symphony of light, sound, and motion – where every frame is a brushstroke, every cut a heartbeat, and every scene a whispered secret.
Maya Jenson
Bringing Your Cinematic Vision to Life

As we’ve explored the world of cinematic video, we’ve covered the essential steps to bring your vision to life, from mastering cinematic camera movements to unlocking color grading techniques. These skills, combined with a deep understanding of your story and its emotional core, will elevate your footage from ordinary to extraordinary. Remember, the key to shooting cinematic video is to focus on capturing the emotion and magic in the moment, and then to shape that footage into a compelling narrative through the editing process.
Now, as you embark on your own cinematic journey, I encourage you to keep experimenting, learning, and pushing the boundaries of what’s possible. Don’t be afraid to try new things and make mistakes – it’s often in those moments that we discover something truly innovative and remarkable. With dedication, passion, and a willingness to learn, you’ll be well on your way to creating cinematic videos that leave a lasting impression on your audience and inspire them to see the world in a new light.
Frequently Asked Questions
What role does lighting play in creating a cinematic look, and how can I achieve it on a budget?
Lighting is the unsung hero of cinematic storytelling. To achieve a cinematic look on a budget, I swear by natural light, reflectors, and DIY diffusers. Shoot during the golden hour for warm, soft tones, and experiment with practical lighting sources like lamps and candles to add depth and texture to your scene.
How do I choose the right camera settings to capture the desired mood and atmosphere in my scene?
To capture the desired mood and atmosphere, I always start by considering the story I want to tell. Then, I experiment with different camera settings, like aperture and shutter speed, to create the right ambiance. For a moody scene, I might opt for a higher aperture and slower shutter speed to create depth and blur, while a brighter scene might call for a lower aperture and faster shutter speed for crispness and clarity.
Can you share some tips on how to stabilize handheld footage to give it a more cinematic feel without losing the intimacy of the shot?
To stabilize handheld footage without losing intimacy, I swear by the ‘pendulum’ technique: slight movements, smooth arcs. In post, I use subtle stabilization tools, like a 20-30% reduction in camera shake. This way, the footage still feels organic, yet polished – the perfect blend of realism and cinematic flair.