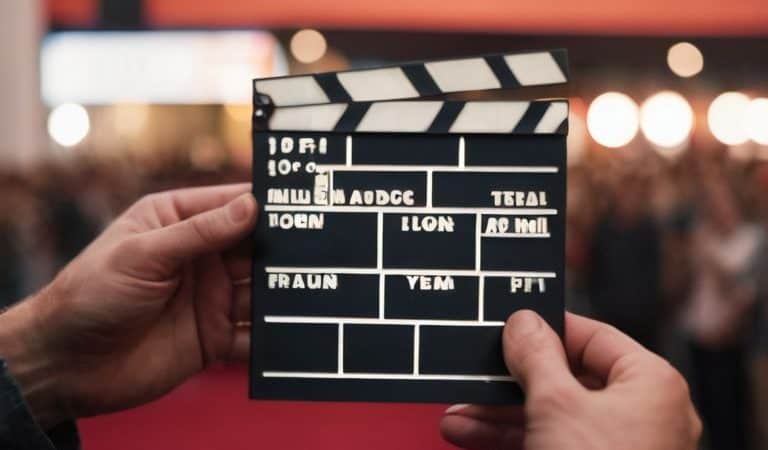
An Explainer: What Are Luts and How to Use Them
I still remember the first time I discovered the power of LUTs (Look-Up Tables) in filmmaking – it was like unlocking a secret door to a new world of cinematic possibilities. As a documentary filmmaker, I’ve always been fascinated by the way a simple color grade can elevate the emotional impact of a scene. But I’ve also seen how overwhelming it can be for newcomers to navigate the world of “what are luts and how to use them” – with so many conflicting opinions and complicated tutorials out there, it’s easy to get lost. That’s why I’m excited to share my own experiences and insights on this topic, and help demystify the process for anyone looking to take their filmmaking to the next level.
In this article, I’ll be sharing my hands-on, no-nonsense approach to understanding and using LUTs in your own projects. We’ll dive into the basics of what are luts and how to use them, and then explore some more advanced techniques for getting the most out of these powerful color tools. Whether you’re a seasoned pro or just starting out, my goal is to provide you with a clear, practical guide that will help you unlock the full potential of LUTs and take your filmmaking to new heights. By the end of this article, you’ll have a solid grasp of how to use LUTs to enhance your footage, and be well on your way to creating stunning, emotionally resonant visual stories that leave a lasting impact on your audience.
Table of Contents
Guide Overview: What You'll Need
Total Time: 1 hour 30 minutes
Estimated Cost: $0 – $20
Difficulty Level: Easy
Tools Required
- Computer (with video editing software)
- Color Grading Software (e.g., Adobe Premiere Pro, DaVinci Resolve)
Supplies & Materials
- LUT Files (available for download online)
- Tutorial or Online Course (optional, for learning color grading techniques)
Step-by-Step Instructions
- 1. First, let’s start by understanding what LUTs are and how they can enhance the visual style of our footage. A LUT, or Look Up Table, is a file that contains a set of instructions that tell our editing software how to adjust the colors and brightness of our footage. Think of it like a recipe for your footage – it takes the raw ingredients and turns them into a delicious, visually stunning dish.
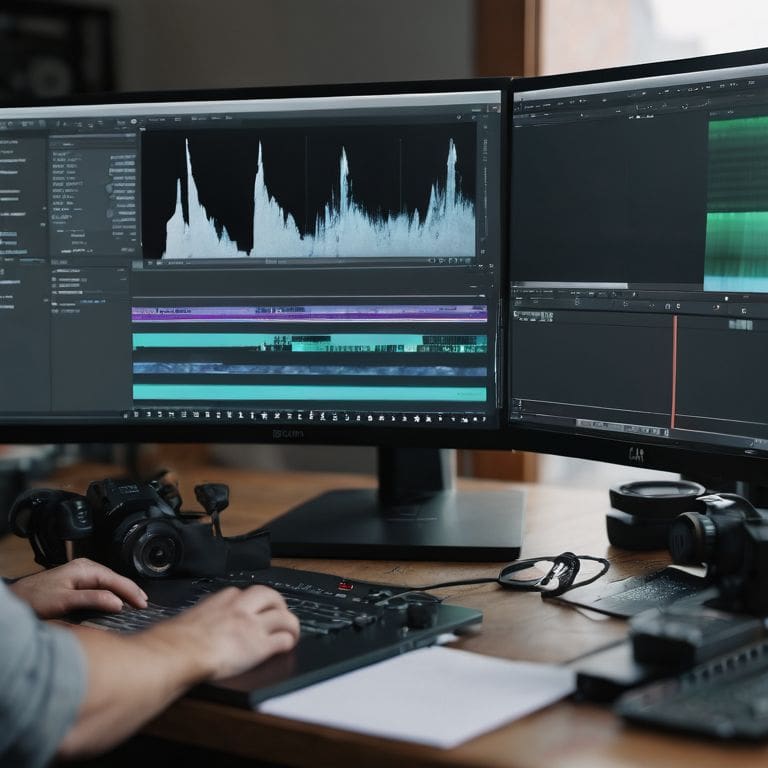
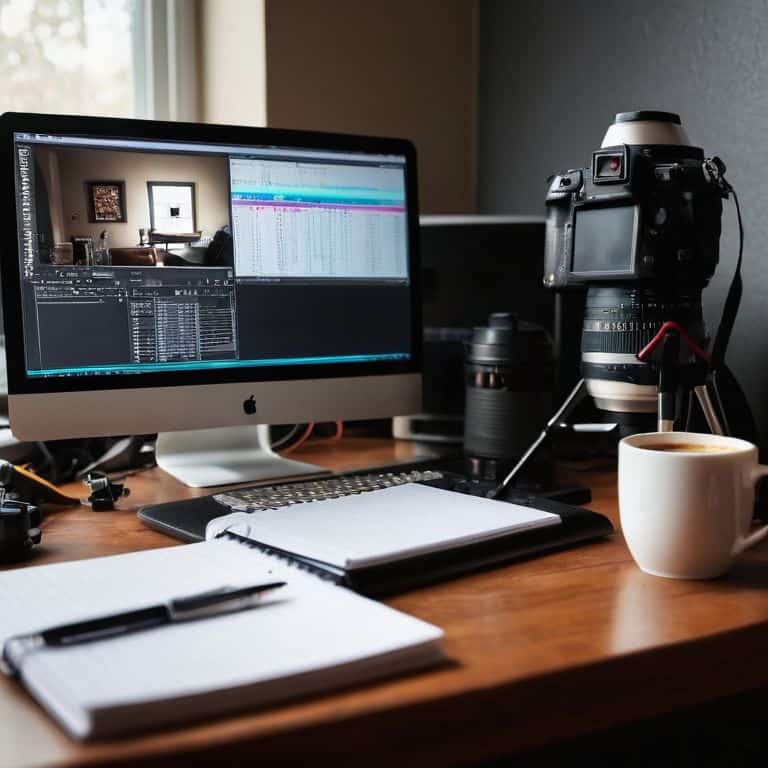
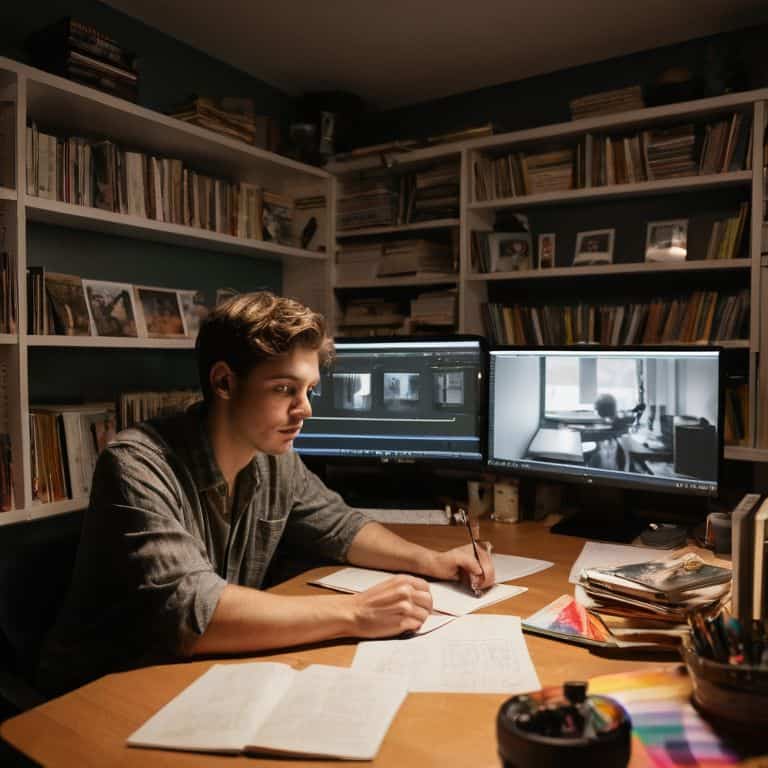
- 2. To get started with using LUTs, you’ll need to import them into your editing software. This process varies depending on the software you’re using, but most programs will have a specific folder or menu where you can add your LUTs. For example, in Adobe Premiere Pro, you can import LUTs through the “Lumetri Color” panel. Make sure to organize your LUTs in a way that makes sense to you, so you can easily find the one you need.
- 3. Once you’ve imported your LUTs, it’s time to apply them to your footage. This is usually done by selecting the clip you want to apply the LUT to, and then choosing the LUT from a dropdown menu or browsing to the location where you stored it. You can apply LUTs to individual clips or to an entire sequence, depending on the look you’re going for. Experiment with different LUTs to see how they affect the mood and atmosphere of your scene.
- 4. Now that you’ve applied a LUT, let’s talk about how to fine-tune the settings to get the look just right. Most editing software will allow you to adjust the intensity of the LUT, as well as make additional tweaks to the color and brightness. This is where the magic happens, and you can really start to see your footage come alive. Don’t be afraid to experiment and try out different combinations of settings to find the one that works best for your story.
- 5. As you’re working with LUTs, it’s also important to keep an eye on the technical aspects of your footage. Make sure you’re not over-saturating or under-saturating your colors, and that your brightness and contrast levels are balanced. You can use tools like the “Vectorscope” or “Waveform” to get a better sense of what’s going on with your footage from a technical standpoint.
- 6. One of the most powerful things about LUTs is that they can be used to create a consistent look across an entire project. By applying the same LUT to all of your footage, you can create a cohesive visual style that ties everything together. This is especially important in documentary filmmaking, where you may be working with footage from multiple sources and cameras.
- 7. Finally, don’t forget to experiment and have fun with LUTs! They’re a powerful tool that can help you unlock the full potential of your footage and tell a more compelling story. Try out different LUTs, combine them in creative ways, and see what kind of unique looks you can come up with. Remember, the key to using LUTs effectively is to trust your instincts and go with what feels right for your story.
What Are Luts
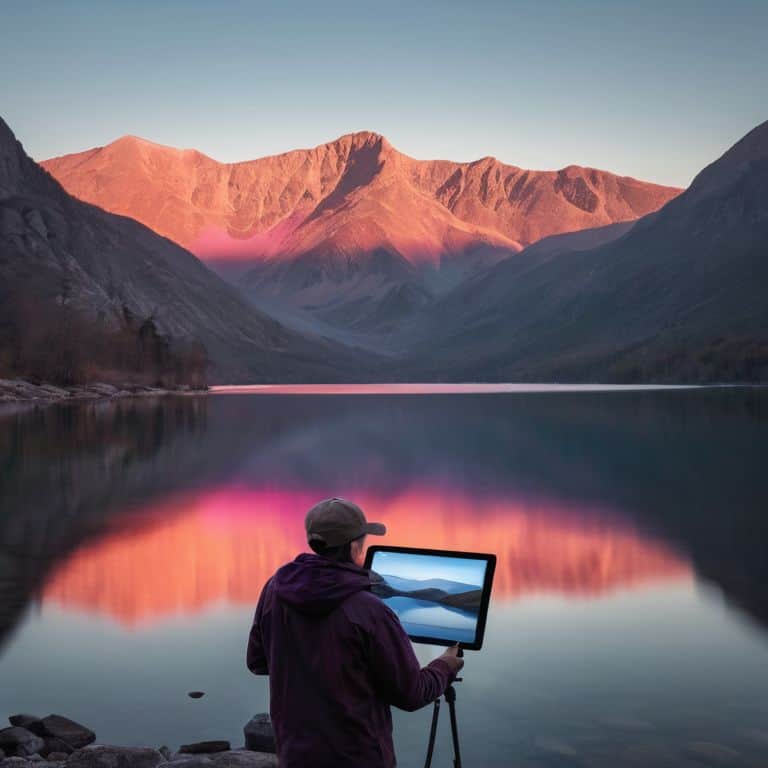
As I delve into the world of LUTs, I’m reminded of the power of color grading in transforming a scene. It’s not just about applying a preset, but about creating a mood and atmosphere that draws the viewer in. When it comes to color grading techniques for beginners, I always recommend starting with a simple LUT and adjusting from there. This allows you to get a feel for how different colors and tones can affect the overall story.
One of the most common questions I get is about LUTs vs presets in video editing. While both can be used to enhance your footage, LUTs offer a more nuanced and customizable approach. By creating custom LUTs in Adobe Premiere, you can fine-tune your color palette to match your unique vision. This is especially important when working on a project that requires a specific aesthetic or mood.
When working with LUTs, it’s also important to consider compatibility with different software. Not all LUTs are created equal, and some may work better with certain editing programs. As a filmmaker, it’s essential to understand how to use LUTs for cinematic color correction and to have a range of tools at your disposal. Whether you’re a beginner or an advanced colorist, having access to free LUTs resources can be a game-changer in taking your color grading to the next level.
Color Grading Magic for Beginners
As a filmmaker, I can attest that color grading is where the magic happens. It’s the process of enhancing the color and mood of your footage to evoke a specific emotional response from your audience. For beginners, it can seem daunting, but trust me, it’s a game-changer. With LUTs, you can instantly apply a specific color palette to your footage, transforming the entire mood and atmosphere of your scene.
I love experimenting with different LUTs to find the perfect tone for my stories. From the warm, golden hues of a sunset to the cool, moody tones of a rainy cityscape, LUTs allow me to tap into the emotional essence of my footage and bring my vision to life. By applying a LUT, you can enhance the color, contrast, and texture of your footage, creating a visually stunning narrative that draws your audience in.
Luts vs Presets Unlocking Cinematic Secrets
When I’m working on a project, I often get asked about the difference between LUTs and presets. To me, it’s all about creative control. Presets are like a one-size-fits-all solution, whereas LUTs offer a more nuanced approach to color grading. With LUTs, I can finely tune the look and feel of my footage to evoke a specific emotional response. It’s not just about slapping on a pre-defined style, but about crafting a visual identity that serves the story.
I think of LUTs as a secret ingredient in my filmmaking recipe. They allow me to add depth, texture, and mood to my footage in a way that feels authentic and cinematic. By using LUTs, I can unlock the full potential of my footage and create a visual language that resonates with my audience. Whether I’m working on a documentary or a branded content piece, LUTs give me the flexibility to experiment and push the boundaries of what’s possible.
Unlocking the Power of LUTs: 5 Essential Tips for Cinematic Storytelling
- Start with a clear vision: Before applying a LUT, have a solid understanding of the mood and atmosphere you want to create in your scene, and choose a LUT that aligns with your artistic intent
- Experiment with different intensities: Don’t be afraid to dial back the intensity of a LUT to 50% or even 25% – sometimes subtlety is key to achieving a natural, cinematic look
- Consider the emotional impact of color: Cool blues and greys can evoke a sense of melancholy, while warm oranges and yellows can create a feeling of excitement and energy – use LUTs to amplify the emotional resonance of your story
- Pay attention to skin tones: A good LUT should enhance, not compromise, the natural colors of your subject’s skin – be mindful of this when selecting and adjusting your LUT
- Combine LUTs with other grading tools: Don’t rely solely on LUTs – use them in conjunction with curves, color wheels, and other grading tools to create a rich, nuanced color palette that draws the viewer in
Key Takeaways for Mastering LUTs
Unlock the full potential of your footage by applying LUTs to enhance color grading and create a consistent visual tone throughout your film
LUTs are not just a replacement for presets, but rather a powerful tool that allows for nuanced and precise control over the color palette, enabling you to evoke specific emotions and moods in your audience
By experimenting with different LUTs and understanding how they interact with your footage, you can transform your videos into captivating stories that engage and resonate with your viewers on a deeper level
Unlocking the Power of LUTs
LUTs are not just a technical tool, but a creative gateway to unlocking the emotional essence of your footage – they’re the secret ingredient that can transform your visuals from ordinary to extraordinary, and I’m obsessed with helping you master them!
Maya Jenson
Unlocking the Full Potential of LUTs
As we’ve explored throughout this guide, mastering LUTs is a powerful way to elevate your video content and give it a unique, cinematic feel. We’ve discussed what LUTs are, how to use them, and the differences between LUTs and presets. By understanding these concepts and applying them to your workflow, you’ll be able to unlock new levels of creativity and take your storytelling to the next level. Whether you’re a beginner or an experienced filmmaker, color grading magic is within your reach, and LUTs are the key to unlocking it.
So, as you continue on your filmmaking journey, remember that the true power of LUTs lies not just in their technical capabilities, but in their ability to evoke emotions and create a lasting impression on your audience. Don’t be afraid to experiment, try new things, and push the boundaries of what’s possible with cinematic color grading. With practice, patience, and a willingness to learn, you’ll be well on your way to creating stunning, professional-grade videos that leave a lasting impact on all who see them.
Frequently Asked Questions
How do I choose the right LUT for my specific video project?
Choosing the right LUT is all about understanding the mood and atmosphere you want to create. I like to think of it as finding the emotional anchor for my story. Consider the genre, color palette, and lighting conditions of your project – these will guide you in selecting a LUT that enhances your narrative and evokes the desired feeling.
Can I create my own custom LUTs or do I have to rely on pre-made ones?
Absolutely, you can create your own custom LUTs. I love experimenting with unique color palettes in my own films. To get started, try using color grading software like DaVinci Resolve or Adobe Premiere Pro to craft a look that resonates with your story, then export it as a LUT file to use across your projects.
What's the difference between using a LUT in the editing software versus applying it in-camera?
When I’m shooting, I love applying LUTs in-camera for a consistent look, but when editing, I prefer to add them in post for more control over the final color grade. This way, I can fine-tune the mood and atmosphere of my film, making sure every scene flows seamlessly together.